
Flooring Installations and Maintenance
Detail-Oriented Hardwood Installation and Maintenance
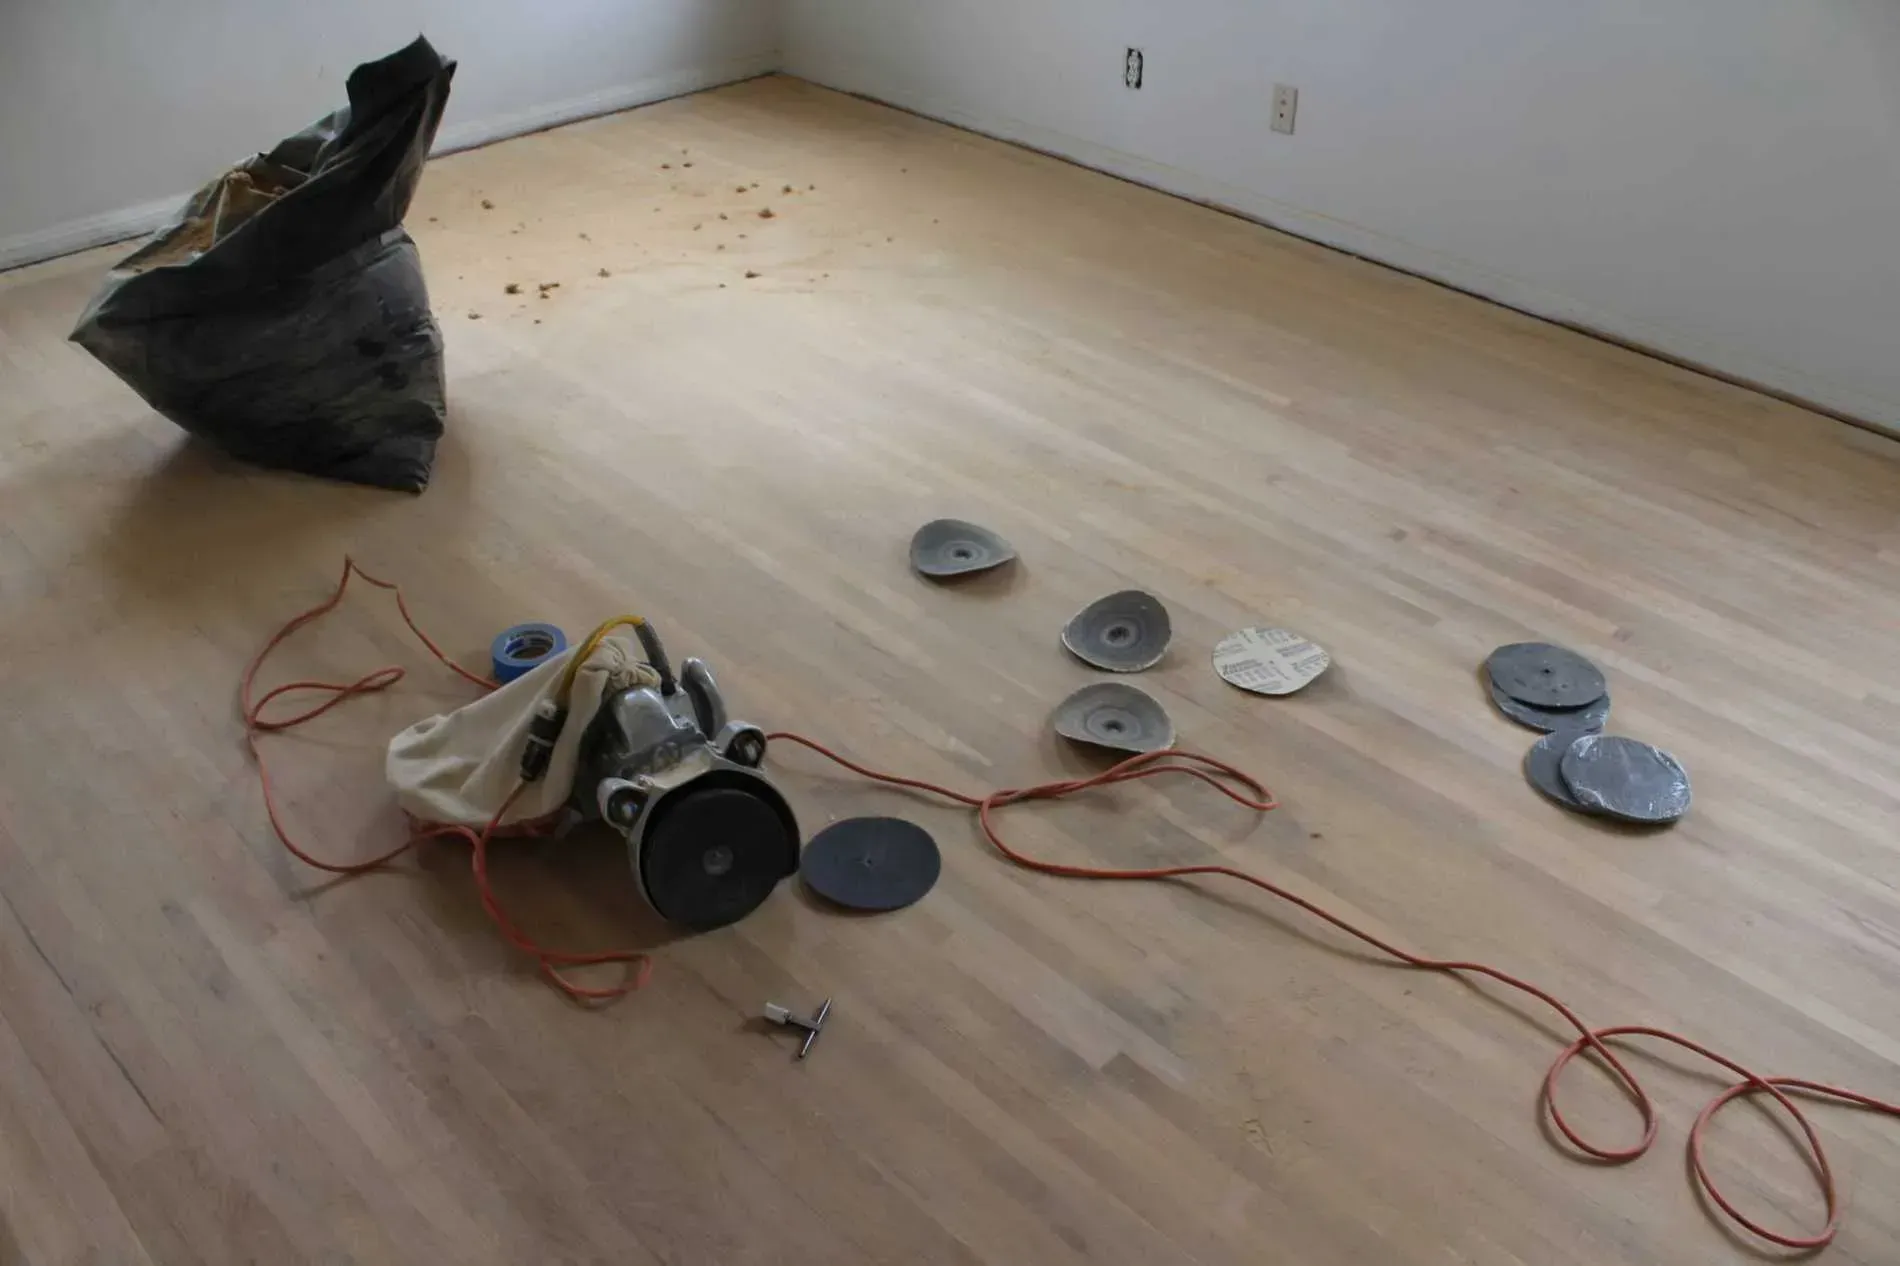
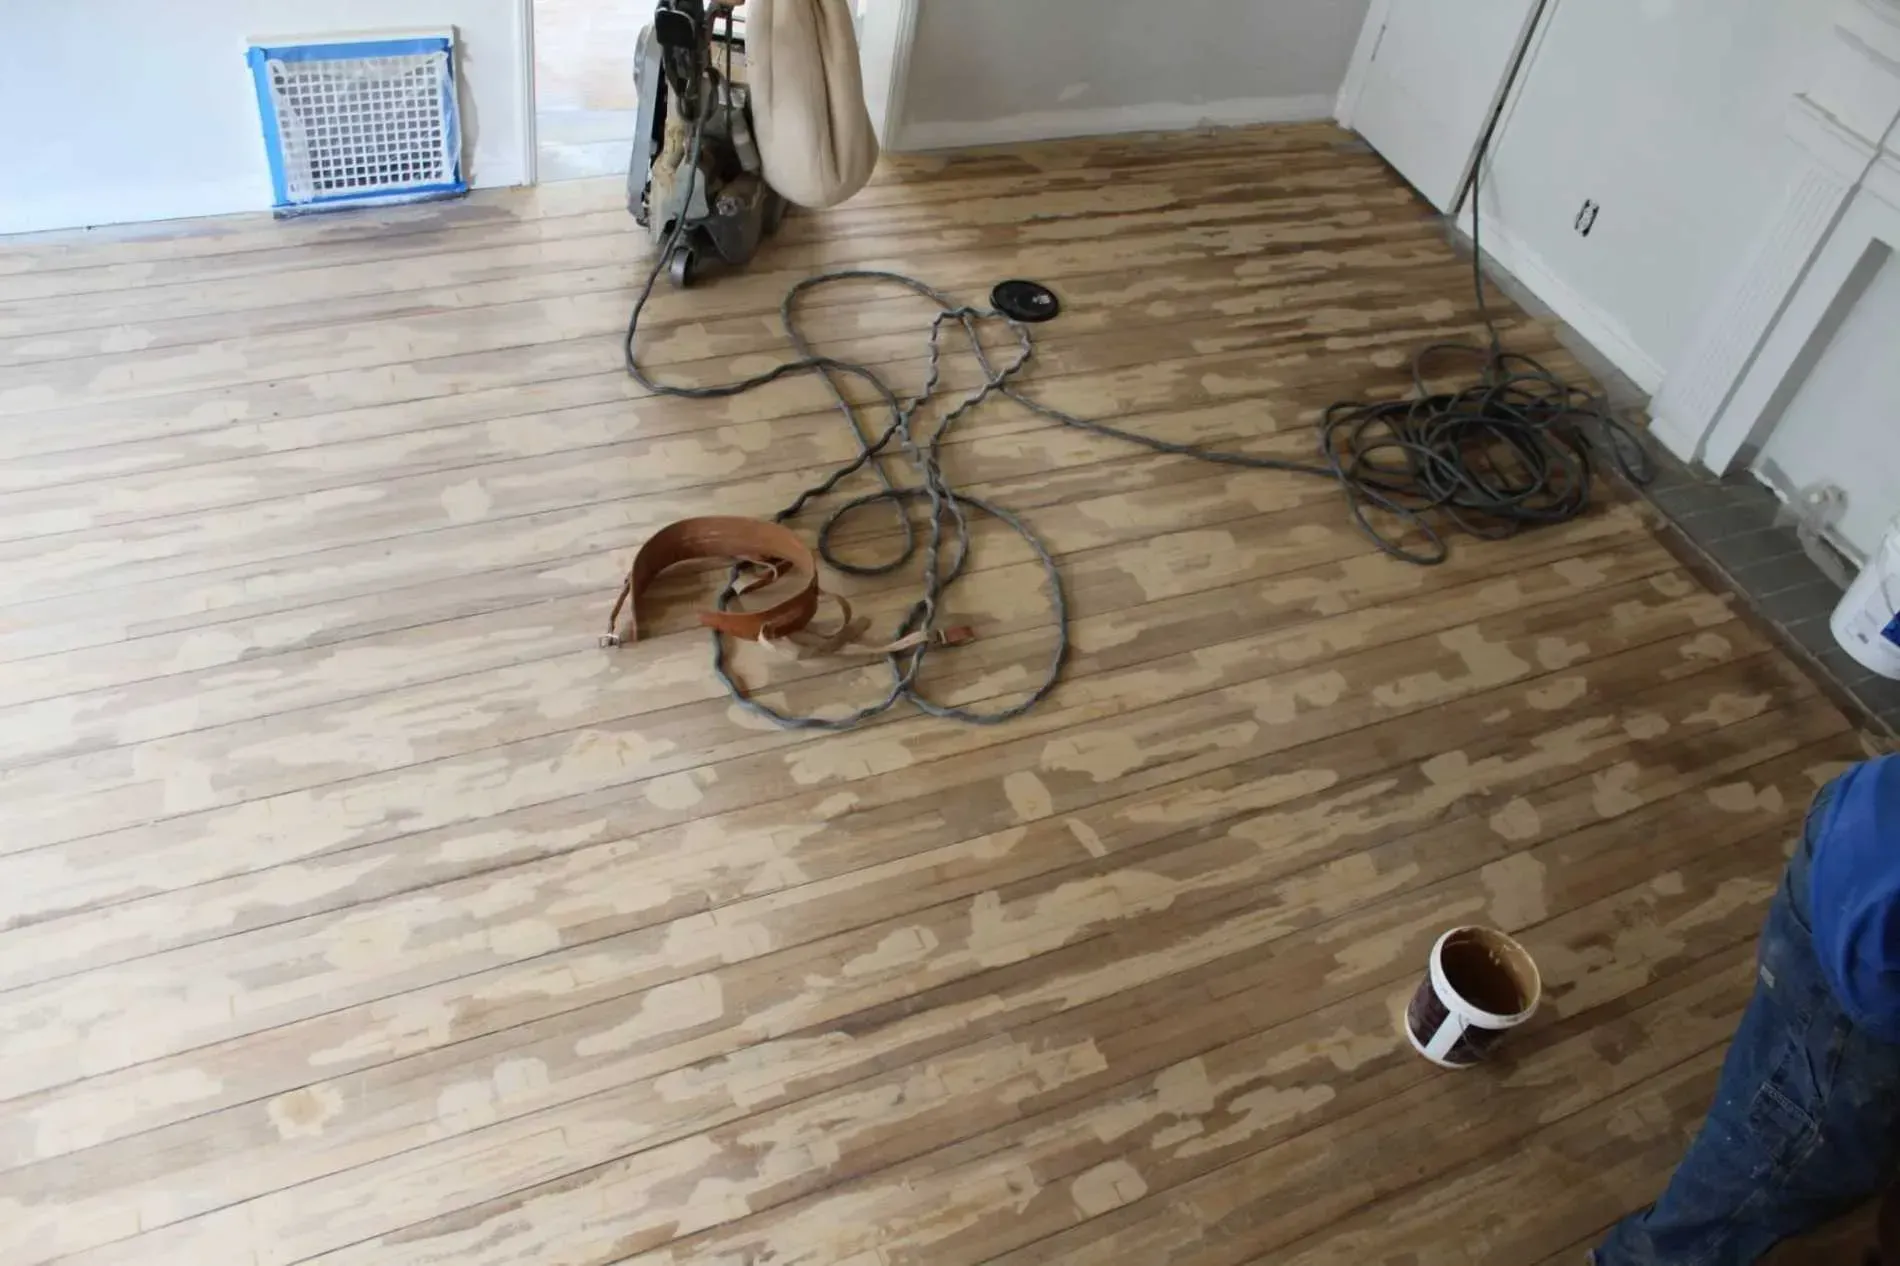
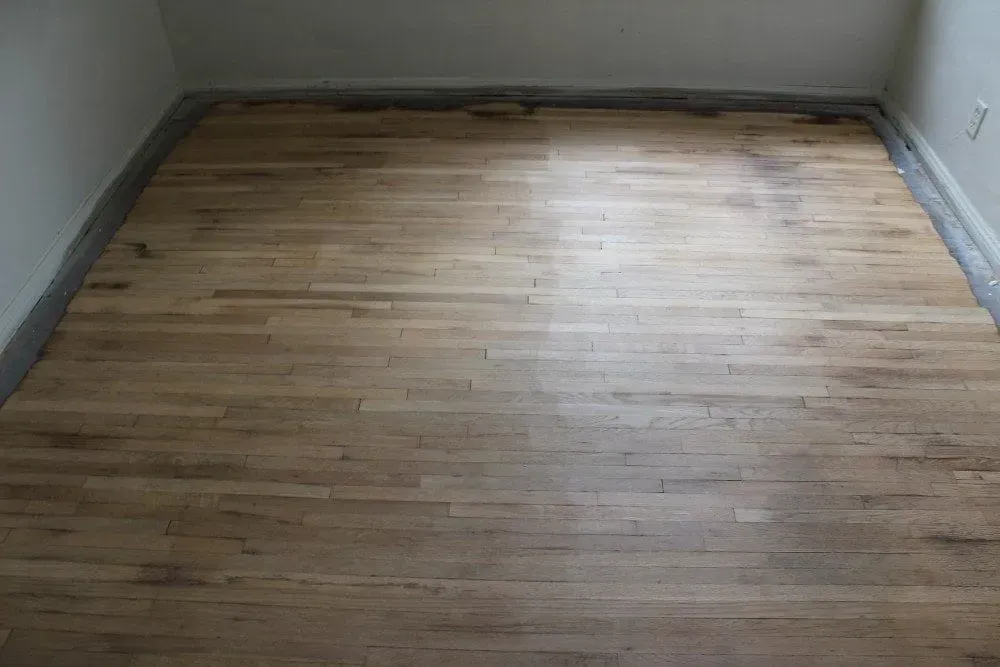
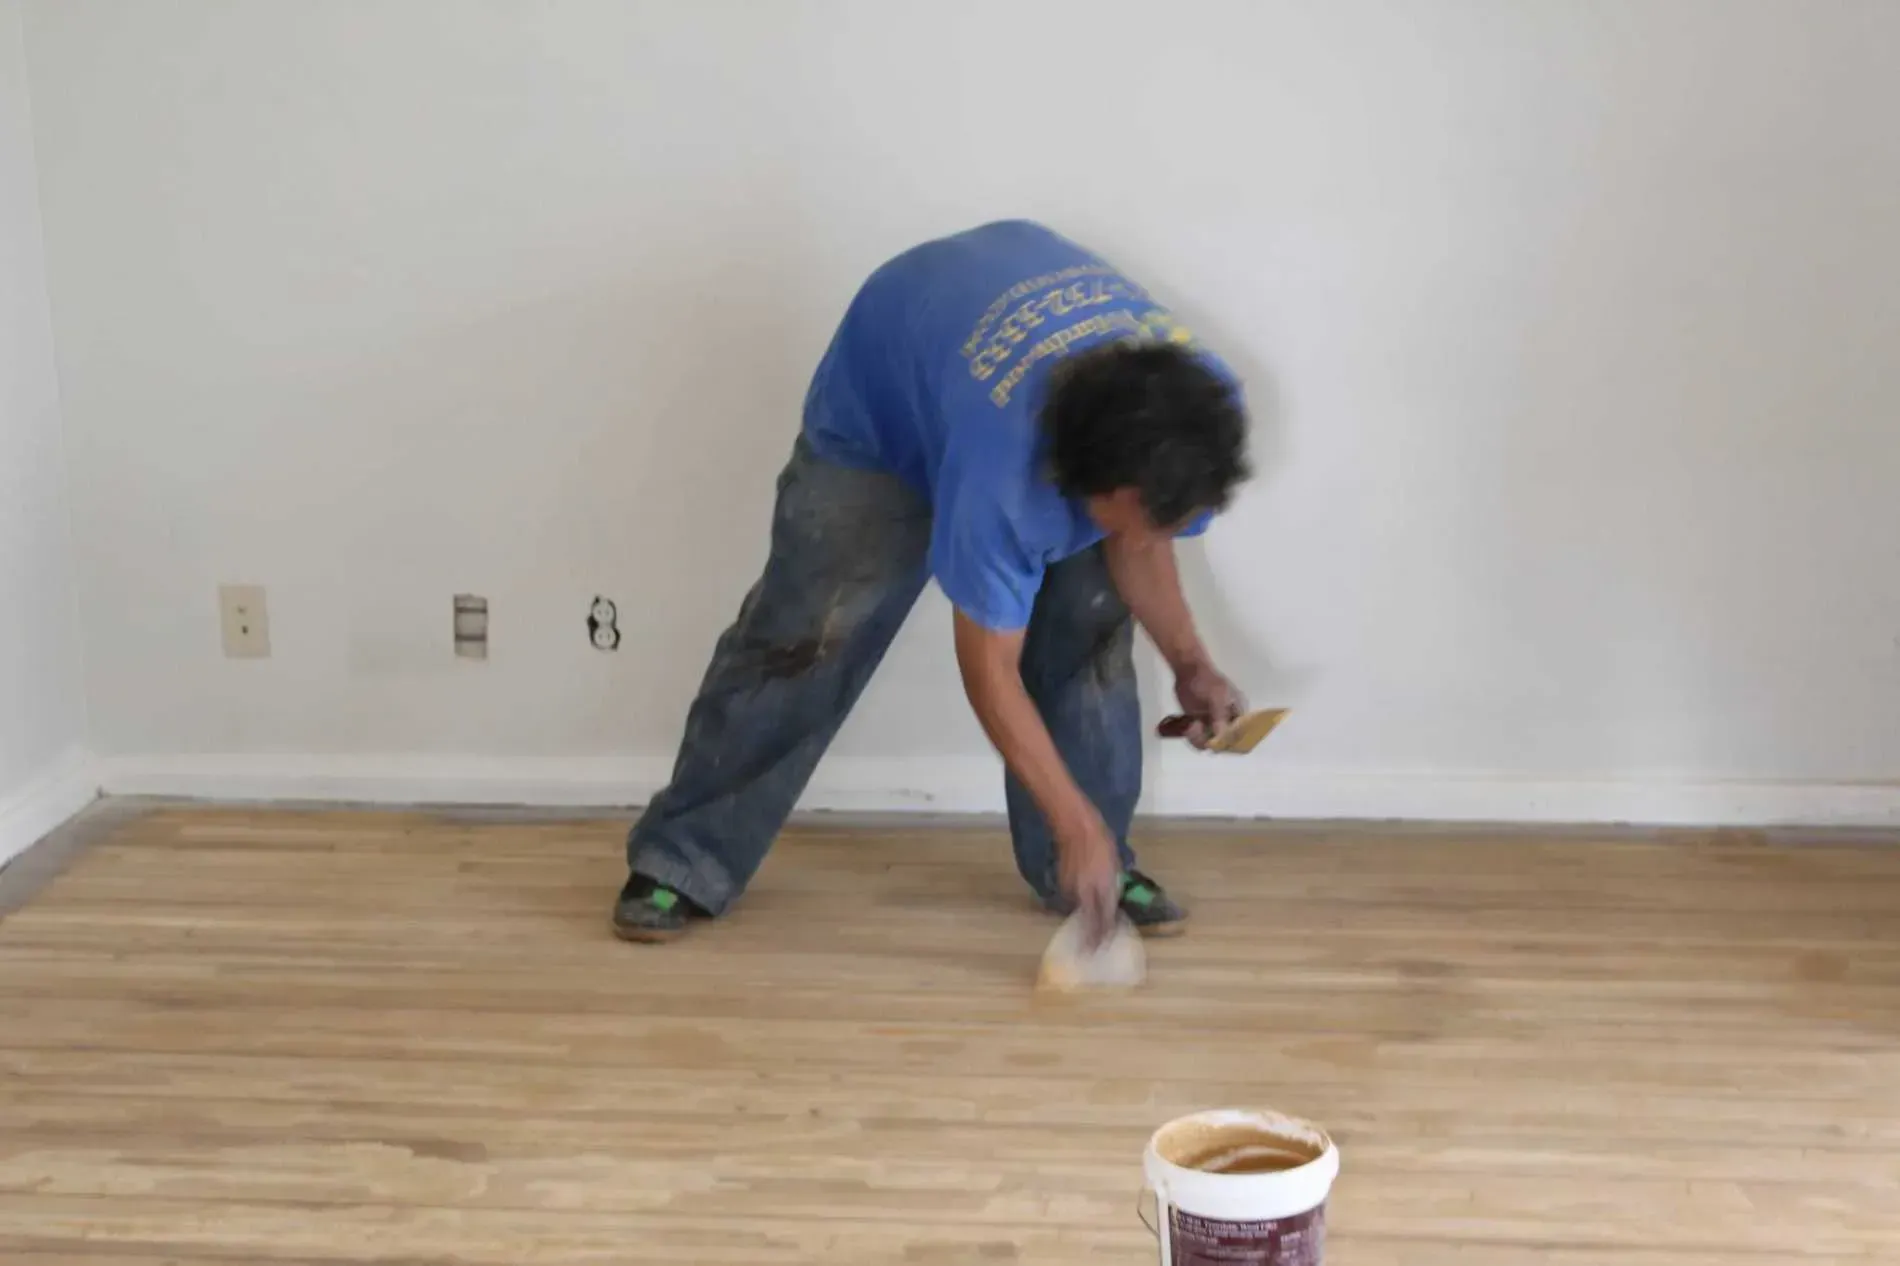
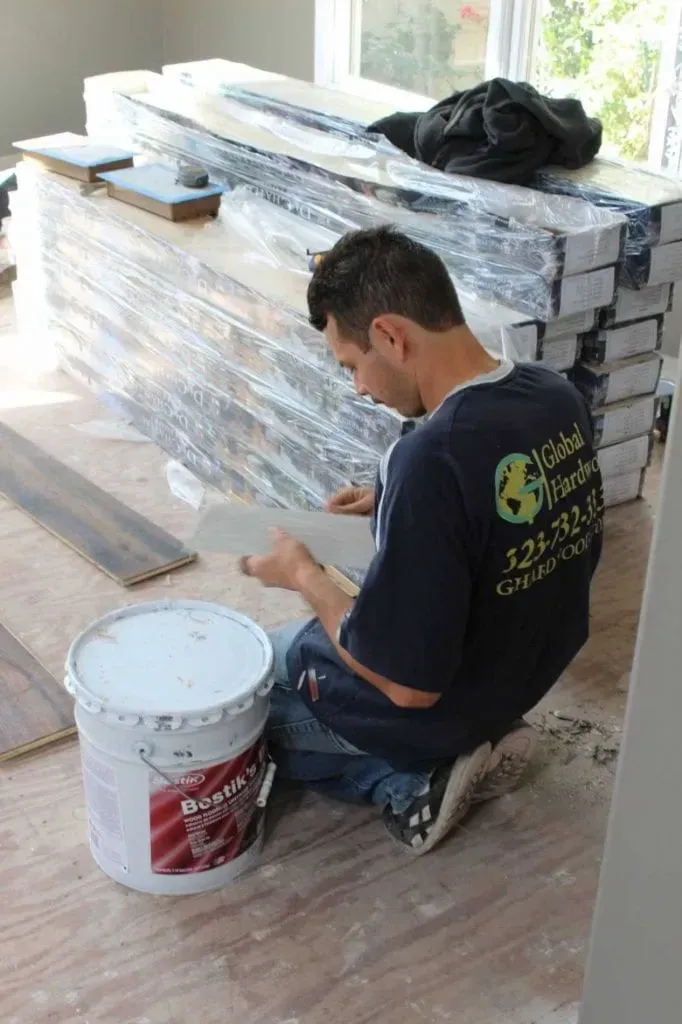
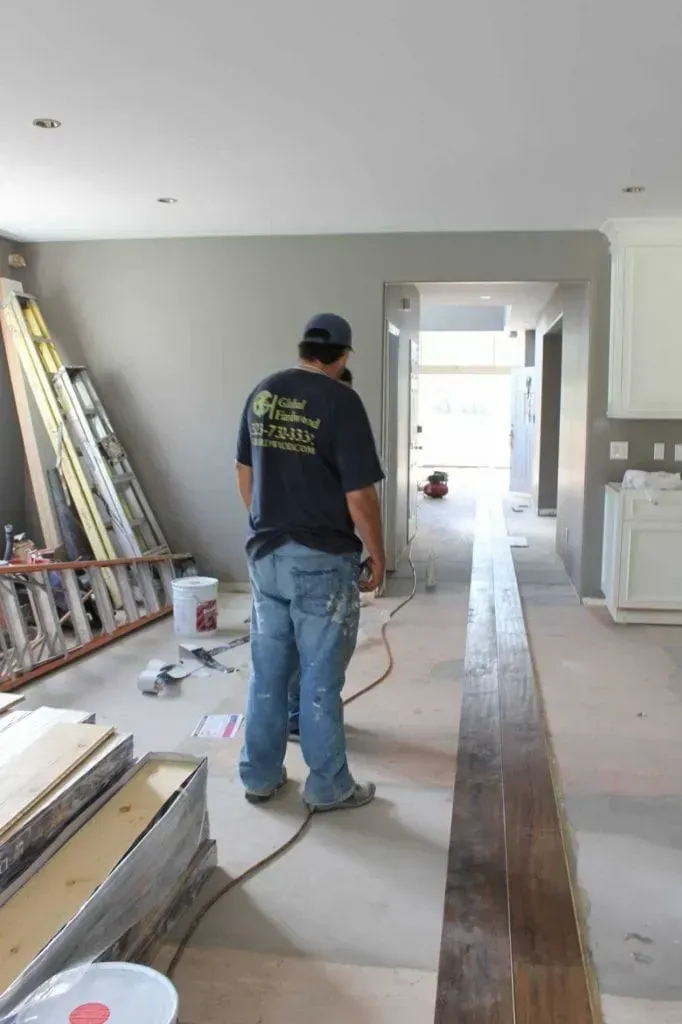
Global Hardwood & Supplies follows a precise sequence with our flooring installations to ensure you get the most out of your flooring for as long as possible. Learn more about our flooring installations and view examples of our process below, and visit Global Hardwood & Supplies today for a free installation estimate.
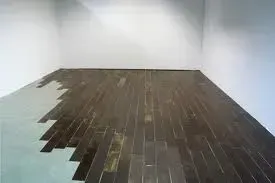
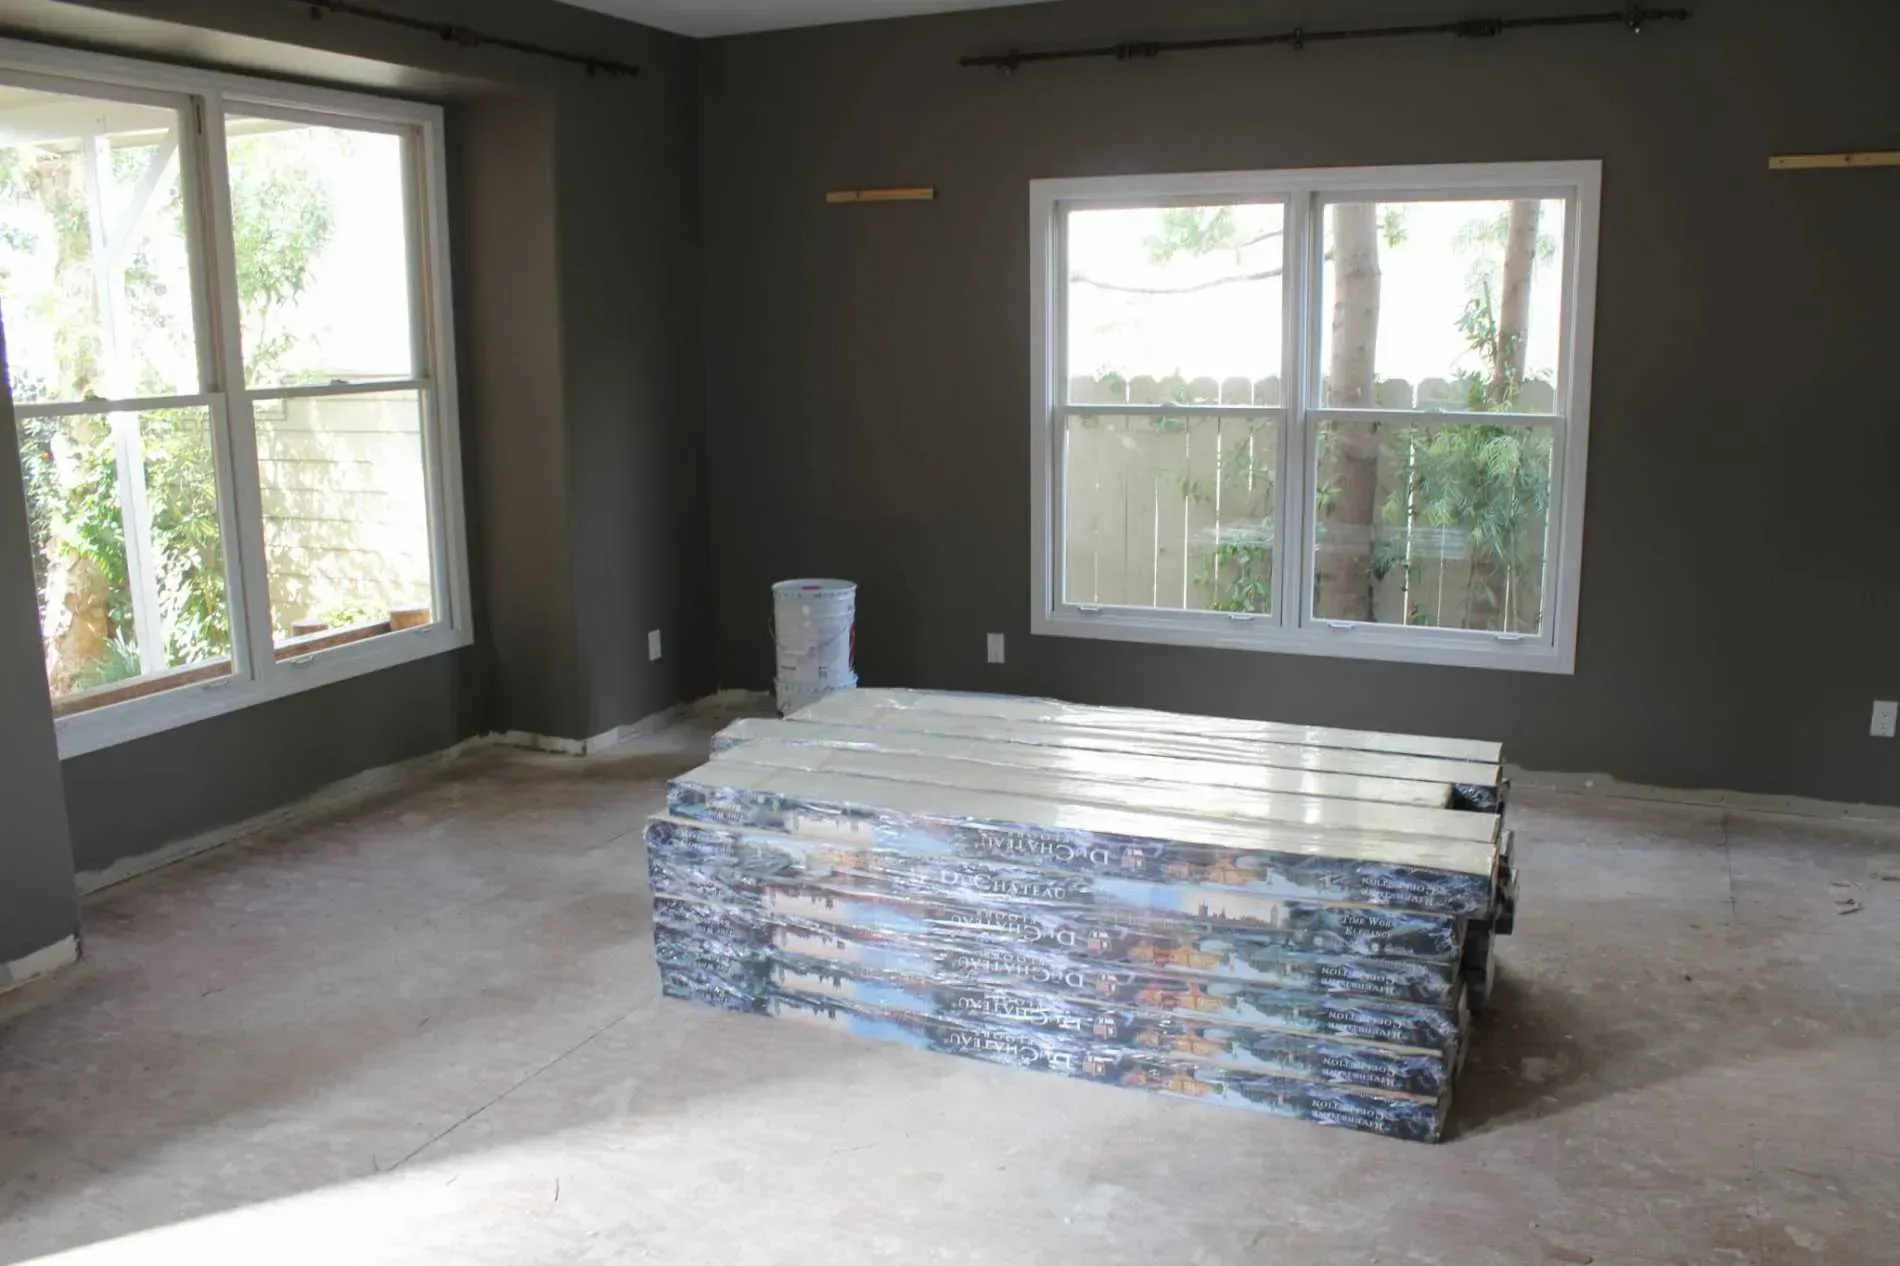
View the Steps to Our Installation Process

How to Care for Laminate Flooring
Warning!! Wet mopping should be avoided, as should the use of soap and abrasive cleaners. Instead, cleaning agents that have been specially formulated for laminate floors should be used. Typically, they are of the ‘spray-on’ variety, and use of them will entail spraying the cleaning solution onto a suitable soft cloth or dry mop which is then used to wipe the laminate surface clean. Both, the manufacturer's brands as well as generic types are available from flooring stores and supermarkets. Usually, there will be no harm in using a quality generic brand for cleaning.
A tough coating is applied to all laminate floors and it is this that provides long-lasting protection against scratching and gouging. However, this doesn’t mean that it will be impossible to damage the surface of your floors! Steps should be taken to eliminate the possibility of damage-causing objects coming into contact with your floor in the first place. Dirt brought in underneath footwear is one of the biggest causes of scratches and an effective way of keeping it at bay is to place wipe mats at your entrances, or even enforce a ‘no shoes’ rule if it's in a household. Through daily use, most furniture items, like seating and tables, are subjected to small movements that can cause damage to a laminate floor's surface at the point of contact. In the worst of cases, the protective coating can wear through to the underlying image and may cause an expensive, and often inconvenient repair or replacement.
The best and easiest way to protect your laminate floor from this problem is to use felt protector pads under the feet of furniture items. Fabric-backed caster cups placed under items with casters will also help in this regard. Furniture items should never be dragged across laminate flooring for this may cause deep gouging, which again is likely to be cause for premature repair or replacement. Always be sure to lift heavy items when repositioning them. If a piece of furniture is just too big and heavy to lift and the only option is to slide it across the floor then try placing some rolled-up or folded blankets beneath it first. If you expect your floor to be subjected to heavier than normal use you may want to use an area rug on the area that gets the most foot traffic. Doing so will slow down the rate of wear and help to avoid ‘lanes’ appearing on your floor, but be sure to choose a rug that is suitable for use with laminate flooring as there are some types that may cause discoloration. A rug will also serve you well when used on the sections of your floor that are more likely to come into contact with water, for example by a bathtub or sink.
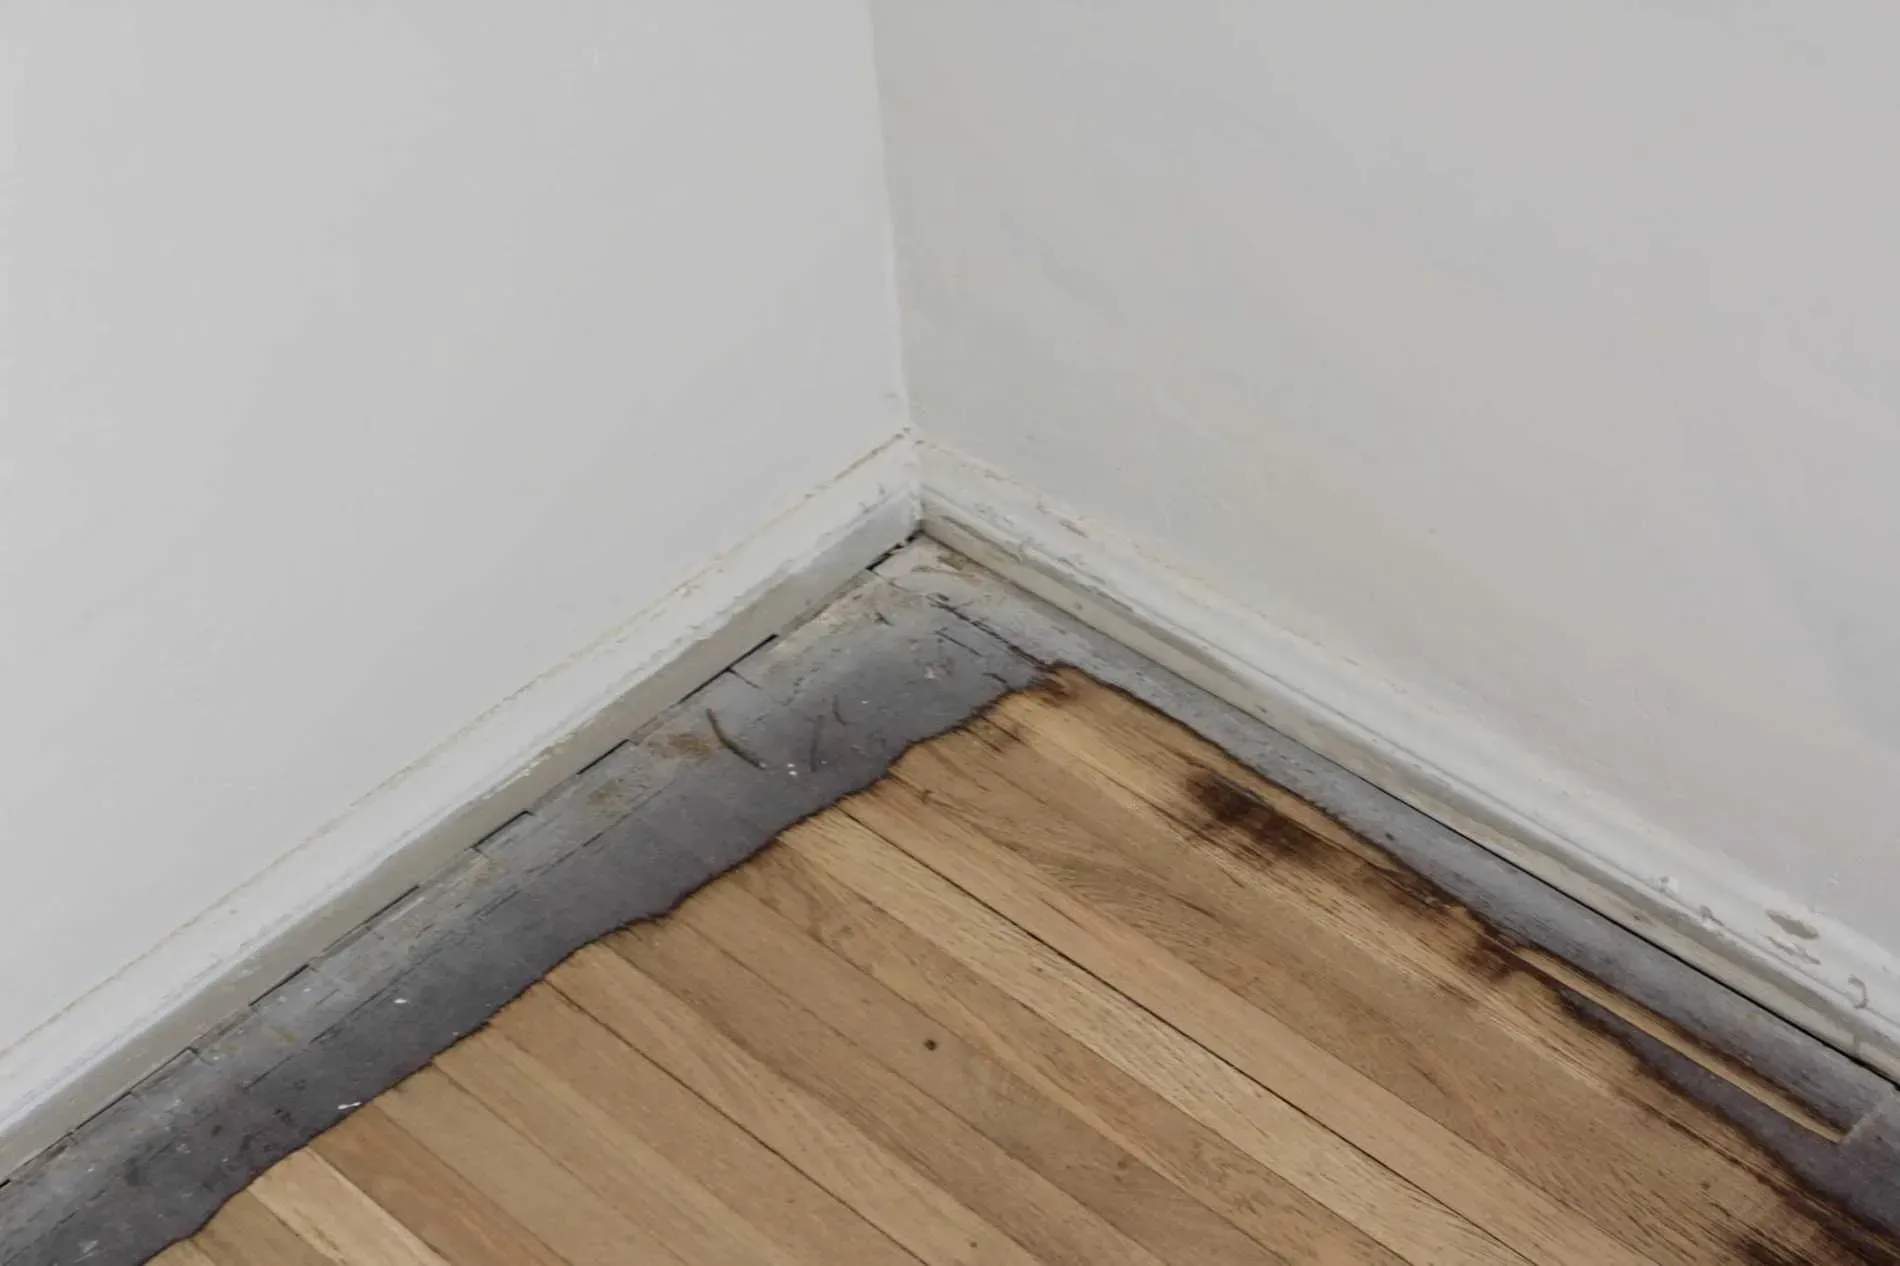
Be sure to clean up liquid spills as soon as they occur otherwise, they may seep into joints causing them to become weakened or damaged. Delamination can also occur in severe cases. Minor damage, such as small gouge marks or scratches, can be repaired by using touch-up kits that consist of silicon filler and colored wax sticks, that are much like crayons. More serious damage may necessitate the need to replace several planks or tiles. The difficulty of doing so may differ from one brand to the next. If you find yourself in need to carry out such a repair you would be well advised to seek professional advice beforehand.
If you live in a region that encounters extremes of low and high humidity throughout the year, it may benefit you to install a humidifier to maintain the humidity at a constant level. This will help prevent excessive expansion and contraction of the floor which, at its worst, may cause buckling or unattractive gaps between the planks or tiles. As a final note of advice, it ought to be pointed out that steps to prolong the longevity of your laminate floor should begin at the installation stage by ensuring that the subfloor is adequately prepared. A laminate floor that has been poorly installed will be more likely to succumb to problems sooner than those that haven’t. Furthermore, it is also worth bearing in mind that manufacturers will often stipulate that a cleaning schedule is followed for their warranties to remain valid. As can be seen, spending a small amount of time looking after your floor will ensure that it continues to look its best and that it provides you with decades of carefree use without the need for costly maintenance or repairs.
How to Care for Engineered Flooring
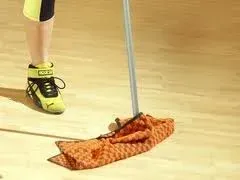
Caring for engineered flooring is a very simple and trouble-free process as long as it is a part of your regular cleaning routine. Keeping the floor as free of dirt, debris, grit, and spills as possible will maintain and retain the original look of your flooring for the longest period. In this, engineered flooring care is almost the same set of processes as the care of any other wood flooring. Here is a step-by-step guide for taking care of your engineered floors: Keep the engineered flooring swept, clean, and dry daily. For vacuum, use a vacuum cleaner with a soft flooring attachment, or a broom.
A damp mop can be used and the floor should be dried immediately after the mop. Similarly, spills must be wiped off as soon as they occur. Engineered flooring is quite resistant to moisture but excessive water or liquid can cause damage to any flooring including engineered floors. You can also keep pebbles, dirt, moisture, grains of sand, and fragments of glass and debris away by keeping floor mats and rugs at the entrances. This is how the upper wear layer and the finish of the floor will be safe and intact for a longer period.
How to Care for Hardwood Flooring
Hardwood floor protection is essential to maintaining your floors but doing it correctly is the difference between preserving them and ruining them. The problem that most people face is simply knowing what to do to take care of their floors. The fundamentals of learning this though, are quite simple. You will find a wide range of advice out there. The best way to tell what the right advice is and what isn’t is simply to know your product. It starts at the point of choosing the proper flooring for your home.
When maintenance is an issue for you, it can be wise to simply purchase the flooring types that allow for the most flexibility in this. The harder-to-maintain floors will require not only time and energy to do the upkeep but often will encompass a substantial budget. Hardwood floor care is not difficult. Before we tell you one way to do the cleaning or another we must make a note here about your flooring type. It is essential to use the directions for floor care provided by your hardwood floor manufacturer. If they tell you not to use chemicals on the floor, it is because the chemicals will break down the protective coatings on the hardwoods. This then leads to additional problems. So, the best advice to give you is to use the instruction provided to you by the manufacturer and/or installer of the flooring.
Here are some helpful hints to remember and to follow with the use of hardwood floors. Custom hardwood floors require the most care. By that we mean that it is especially important to ensure proper care of the flooring as you use it. Again, you need to heed the directions provided to you by the installers and manufacturers because each type of flooring is relatively different. It is safe to say that most flooring will need simply a dry mop to clean them.
When it comes to those that wash hardwood floors, it is important that you only use non-abrasive products as well as equipment. And, in most cases, a damp mop is all it takes to clean the floors thoroughly. Hardwood floor cleaners are another type of cleaning method that is misunderstood. On the market today you will find many products claiming to be safe to use on hardwood floors. That doesn’t mean you should use them. While you may want to use some products to clean your floors, try to use the smallest amounts. These chemicals can break down protective coatings leaving your floors unprotected and oftentimes damaged.
Lastly, many people believe they need to polish unfinished hardwood floors. While you can do this, it is important again to make sure that the type of flooring you have can benefit from this type of treatment. Always use the softest of materials and be careful to follow directions properly. Why all this fuss about cleaning hardwoods? The investment that you put into your floors is more than likely a big one. And, the proper upkeep of those floors will keep them lasting for years and years to come. When you use materials to do this that will in the end damage the protective coatings or will even remove them, you will risk damage to the wood. This can be expensive damage as well. It takes just a little time and a little effort to clean hardwood floors properly.
Learn More About
Global Hardwood & Supplies

Share On: